NB This blog post reflects my way of making patterns when I wrote it in early 2020. My techniques and preferences for pattern making have evolved a lot since then. This is a perfect post for you if you want to dip your toes into pattern making with stencil printing. If you are interested in learning more, also check out the post below.
After my two previous posts about stencil printing on fabric I’d like to tell you something about the different ways of making patterns with stencil printing. There are so many ways to do this and I’ve tried a lot of them over the years. I'll share my favourite ways not only to make a pattern but also to align the motifs when working with a regular repeat. I’ve added a video to be able to show this better. If you prefer you can also skip the text and go straight to the video below.

One of my preferred ways to make patterns is what they call a tossed pattern. As if you threw your motifs on to the fabric, with a certain level of spontaneity. This is at the same time the easiest and the most difficult way of making a pattern. It’s easy because you need no preparation, no calculation. Just start anywhere you like on the fabric and build the pattern as you go. I like to mix solid motifs and lighter coloured motifs. You can do this by starting with the darker coloured layer, then wait until it’s dry enough and print the lighter coloured layer on top of it. It will look as if the lighter coloured layer is behind the darker one. In this way you will avoid any smudging when you move your stencil. This is the way I used to make my tossed patterns. It is a bit harder to get an evenly distributed pattern this way as I found on numerous occasions. Therefore these days I prefer to build up my pattern by printing the darker and lighter motifs at the same time. If you want to see clearly what you’re doing you will want to clean your stencil regularly while printing (I just wipe it clean with a cloth) and if you really want to plan ahead you could trace the pattern onto a sheet of paper that you can then use as a guide while printing. I have to admit that I’ve never done that.

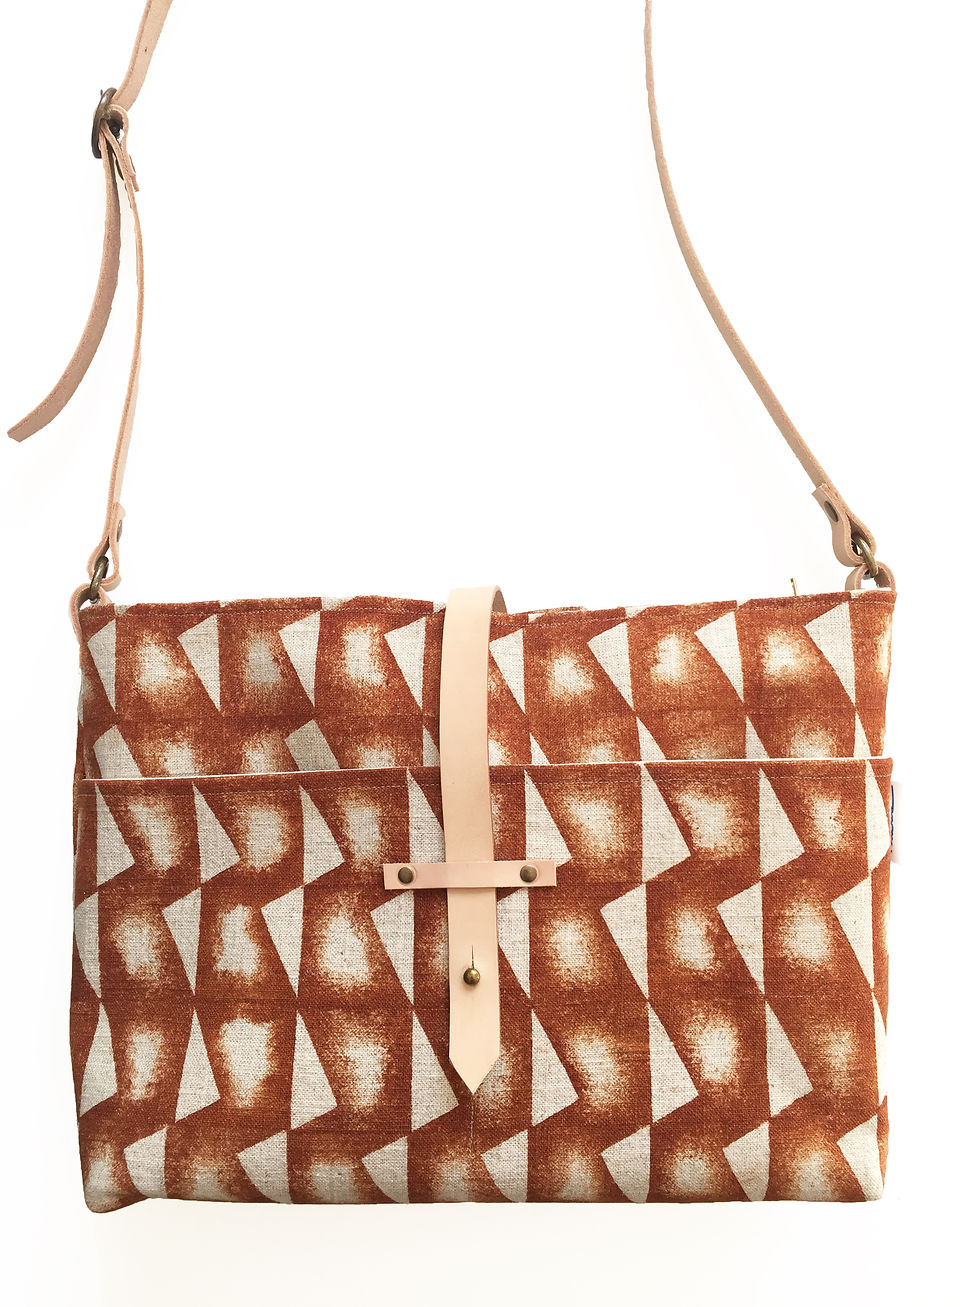
Next to the tossed patterns I also use patterns with a more regular repeat. The burnt orange pattern in the bag I show here has a very simple shape, basically just a square with a bit cut out. You build the pattern by just placing the prints one next to the other in a row using the inside corners of the stencil for alignment. And in this case I used the stencil in 2 directions, changing on each row.

Another pattern with a regular repeat is the teal and ochre one. One of the things I used this pattern for was to make a lampshade. That made the repeat a bit more complicated because I not only wanted to align the pattern with the top en bottom of the lampshade but also at the point where both ends meet. This demanded some calculation and a very precise alignment of the stencil to make it come together. In order to do this I made the stencil large enough to mark the adjoining motifs. Using them as a guide you can be more precise whenever this is needed. If you want to get a better idea have a look at the video that I added.
Hope you’ll find this useful, enjoy your printing!
Find out more about pattern designing and printing in my more recent blog below. If you are interested in learning from me you may want to look at the The Complete Stencil Printing Course.

Comments